Setting up an eSIM takes about five minutes, but two small settings trip people up. Here’s the clean, no-stress process.
Before you buy: is your phone ready?
You need a phone that is eSIM-compatible and carrier-unlocked:
- iPhone: XS / XR (2018) and newer.
- Android: Pixel 3+, Samsung Galaxy S20+ and most recent flagships.
Check unlock status in Settings, or ask your carrier. If your phone can’t do eSIM, rent a pocket WiFi instead.
Step 1 — Buy before you fly
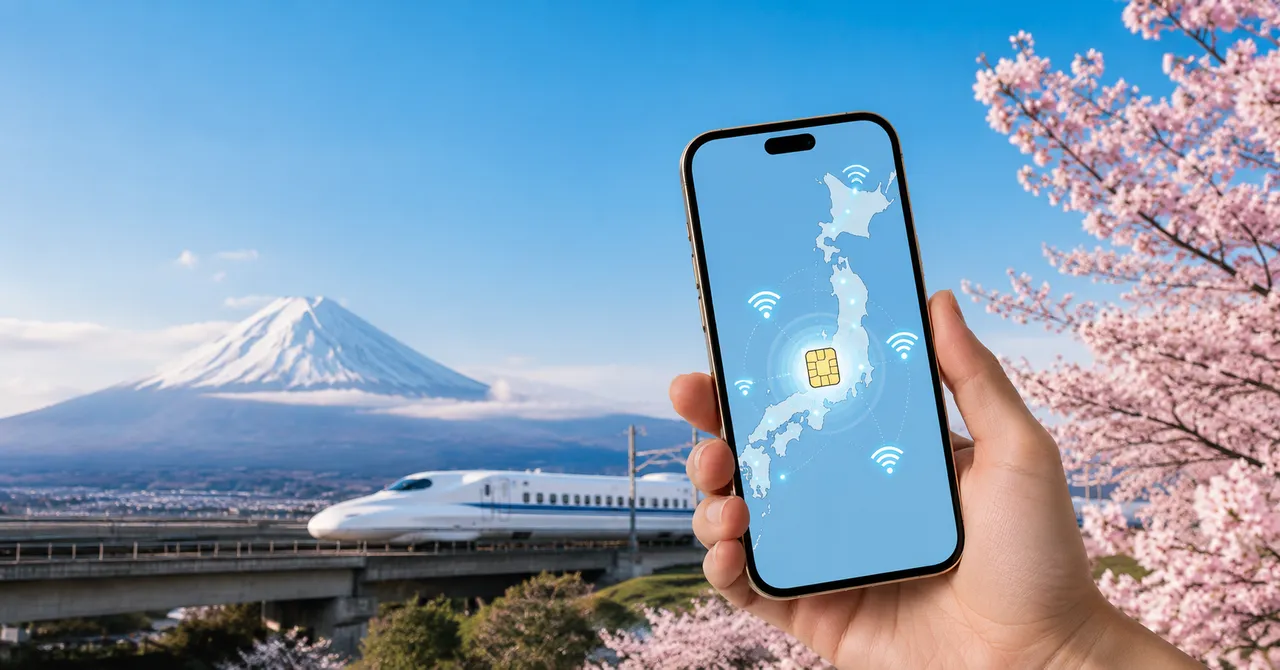
Buy your plan at home while you have WiFi. You’ll get a QR code by email. Need help choosing? See our best eSIM for Japan comparison.
Check Airalo eSIM plans →Step 2 — Install the eSIM (do this on WiFi)
iPhone: Settings → Mobile/Cellular → Add eSIM → Use QR Code → scan. Android (Pixel/Samsung): Settings → Network & internet → SIMs → Add eSIM / Download a SIM instead → scan.
If scanning fails, choose Enter details manually and paste the SM-DP+ address and activation code from your email.
Step 3 — On arrival, flip the two key settings
When you land in Japan:
- Set your data line to the new eSIM.
- Turn on Data Roaming for the eSIM line (this is the step most people miss — for travel eSIMs, roaming must be ON for that line).
- Leave your primary line’s data off so you’re never billed home-carrier roaming.
That’s it — you should see a Japanese carrier name and data working.
Next
With data sorted, plan your trains: Is the JR Pass worth it? and Suica vs ICOCA vs PASMO.